Follow these tips to pamper your feet without breaking the bank. Your feet should be soft and polished even when boot weather rolls around.
Pamper Like the Pros
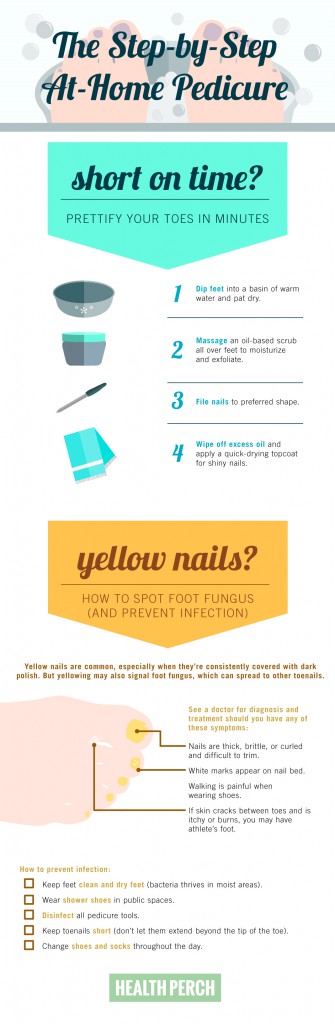
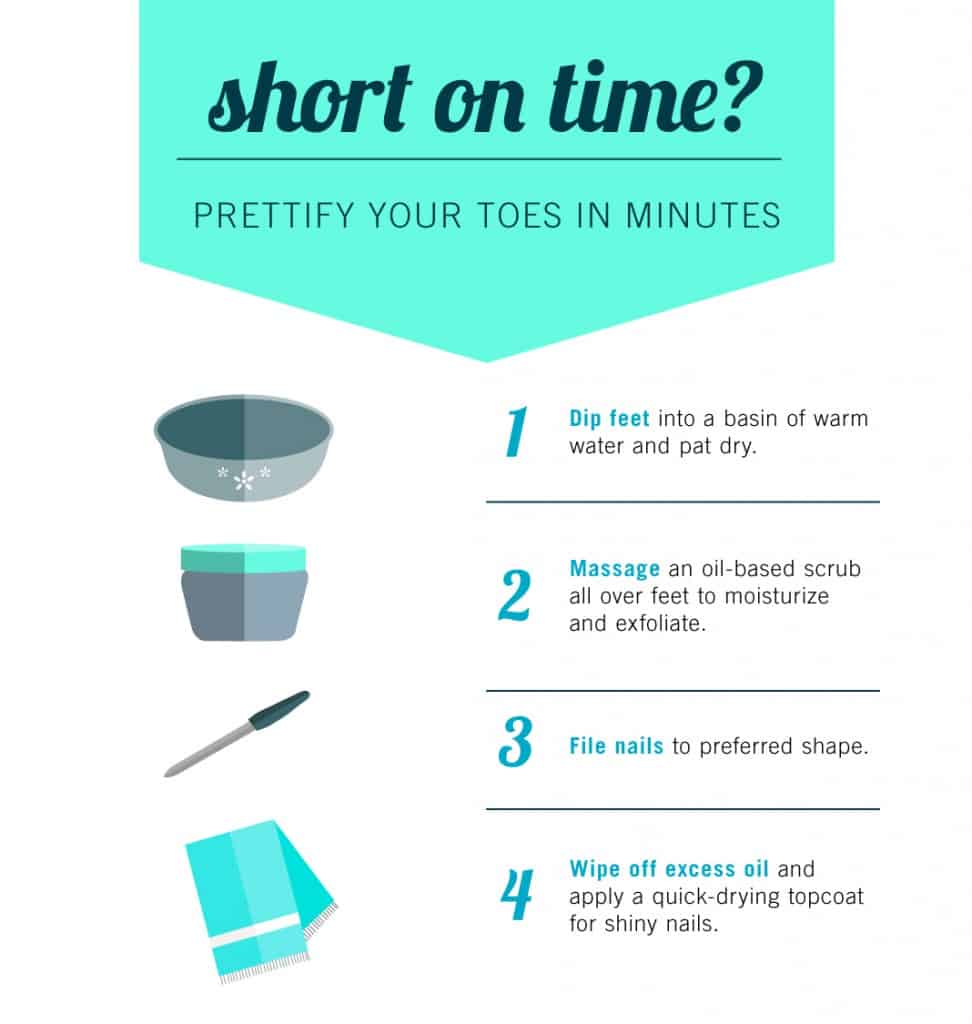
Pedicures aren’t just about the pretty color. If you have time, turn your bathroom into a full-out salon with a foot soak and scrub. First, remove any old polish with non-acetone nail polish remover (it’s less than drying than acetone formulas). Fill a tub or bowl with warm water and salts, which help soothe tired feet and soften cuticles. Soak feet for 10 minutes. Add an essential oil for a true spa experience. Pat dry and massage an oil-based scrub onto feet to slough off dead skin cells. Use a foot file or pumice stone to exfoliate rough calluses. Rinse and pat dry.
Trim and Shape
Push cuticles back with a cuticle stick, but avoid cutting them (they keep out germs) unless you have a hangnail; use a cuticle oil to soften ragged skin. Clip nails straight across, then use an emery board to soften the edges. Make small, careful snips instead of one big one to prevent breaking your nail. Ensure toenails are dry before filing to prevent damage. File in one direction instead of back and forth, which can leave nails jagged. Shape into a soft square; round shapes can lead to ingrown nails.
Prep for Color
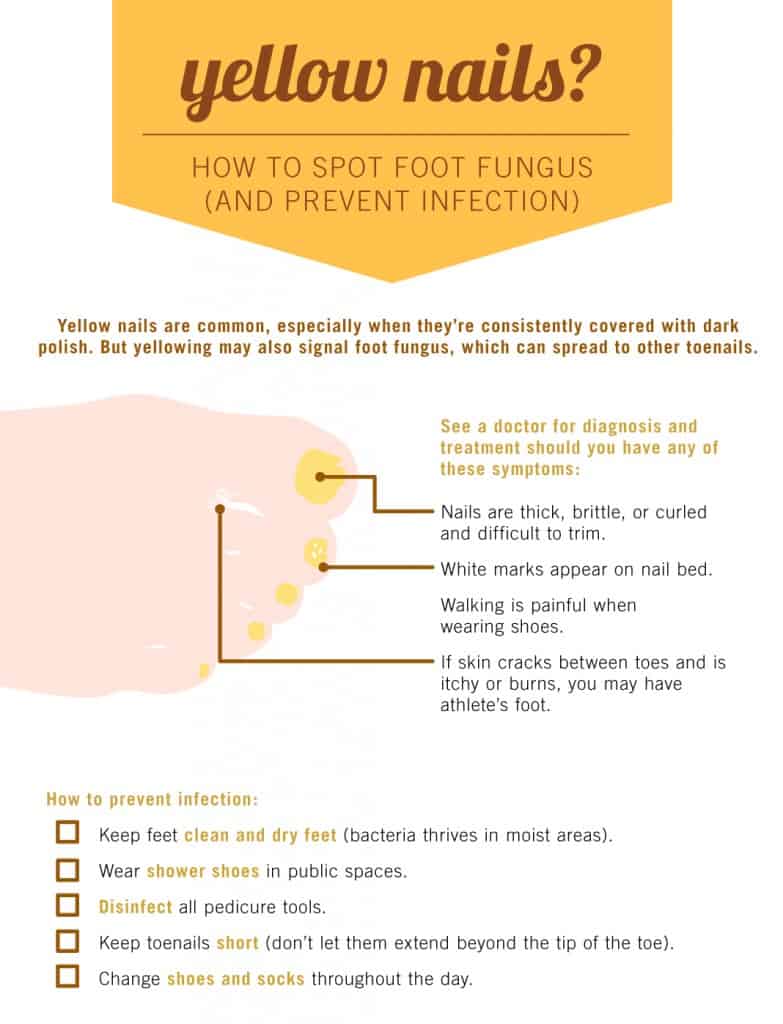
Buff nails to smooth the surface and remove yellow stains. Moisturize feet with a foot cream and massage up to your legs, paying close attention to the driest areas. Remove any excess oil on the nails with polish remover so colors adhere properly. Separate toes with a rolled paper towel or toe separator.
Color Application
Start with a base coat to prevent staining and extend the life of your pedicure; let dry. Instead of shaking nail polish, roll the bottle back and forth between your hands to prevent air bubbles. Swipe on two thin coats of color; make sure the first is dry before applying the second. For clean application, dip the brush into the bottle and wipe off excess, then place the brush in the middle bottom of the nail bed and swipe toward the top of the nail. Repeat on the sides, adding more polish to the brush if needed, but keep it to three strokes. Apply a topcoat, making sure to swipe across the tips of nails to prevent chips. Dip a cuticle stick in polish remover to remove any unwanted polish around the nail. Use quick-dry drops if you’re in a hurry;polish can take up to two hours to dry completely. Apply topcoat every other day to keep toes shiny and chip-free.