
Women are embracing resistance training and not just with tiny dumbbells. For decades the squat rack seemed like it was only used by men, but times are changing. In part one of this series, you learned how to prep your body to progress your squats to the rack. Now it’s time to get into the finer details of squatting safely and efficiently with a barbell. Two key components come into play when you step into the rack for the first time: safety and technique. Let’s dive into the right way to set up and perform a squat from the rack so you can crown yourself master of the iron in your next gym session.

Safety in the Rack
How you set up in the rack determines how well your squat set will go. A lot more goes into un-racking the weight than meets the eye.
These are four considerations when moving the bar out of the rack.
Bar position
Positioning the bar properly on the shoulders (not the neck) helps distribute the weight evenly as you load the spine.
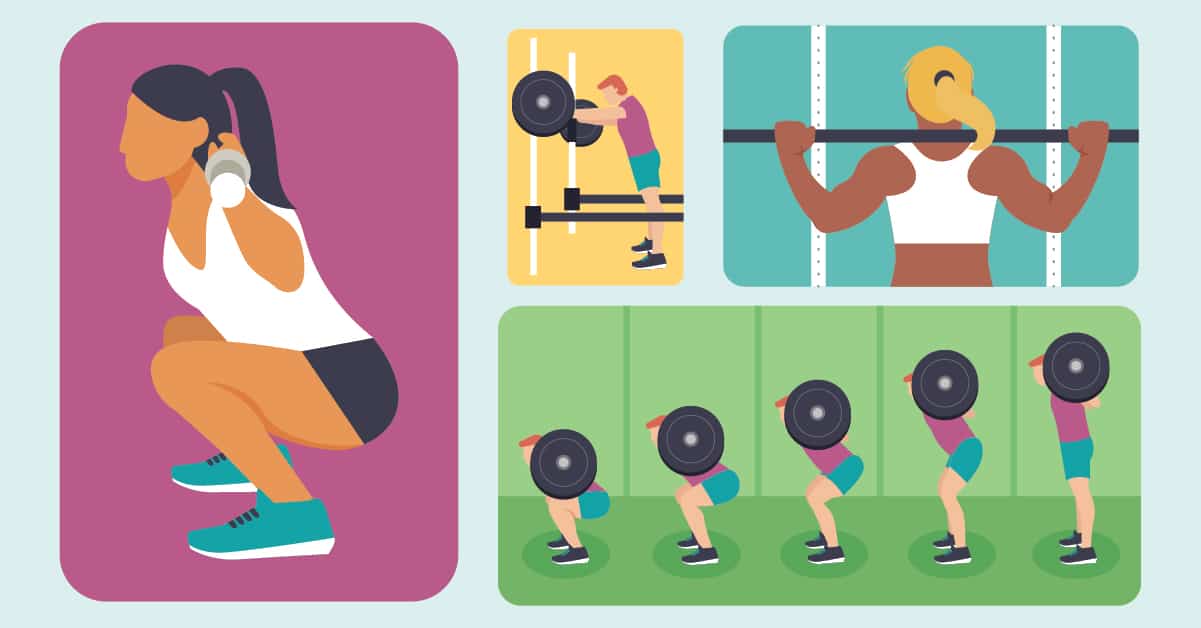
Lifters typically use either a high bar or low bar position. Switching positions changes the biomechanics of the squat, so choose wisely.
High bar position is the go-to for most gym goers. This positions the bar across the upper traps, which allows you to maintain a more upright position during the movement. It places more emphasis on the quads, forcing your knees forward while in a narrower stance.
If you find you fold forward during a high bar squat, try placing small 5-pound plates or blocks under your heels. This provides greater leverage if you have less-than-stellar thoracic spine or ankle mobility.
Low bar position is typically seen with a powerlifting-style squat. The bar sits between the rear delts and upper traps, about 2 to 3 inches below the position for a high bar squat. This requires a more forward-leaning torso position and targets the glutes and hamstrings as you sit back into a deeper hip hinge.
Alignment
Alignment can make or break the success of your squat. It’s important to keep your torso rigid, knees slightly out, and ribs down (rather than jutting out) during a squat.
Since these guidelines are much easier said than done, it’s important to ease into heavy weights until you master squatting posture.
Your spine should extend (slightly arch) through the upper back while remaining neutral in the lower back. It’s common to go the other way—rounding forward from the top and arching hard in the bottom—which can lead to vertebrae compression, Sacroiliac (SI) joint pain, and other injuries.
Another great cue for squatting posture is ribs down. Keeping your ribs aligned with the pelvis will prevent you from arching the low back.
And finally, keep those knees out. If your knees cave in, try placing a mini band above them. When you lower into your squat, press your knees out on the band.
Breathing
Breathing correctly during a squat not only improves your technique, it also prevents injury as you get you stronger. Never hold your breath during exercise (unless you’re underwater). This is a quick way to faint, putting yourself at risk of a serious fall.
Each breath should fill your torso like a 360-degree canister. Take a big breath at the top, filling your belly while expanding through the ribs and back.
Walking out
If you nail the walkout, you are set up for success with your squat. The best strategy is to position yourself under the bar with your hips slightly tucked. From here, stand straight up to lift the bar from the rack. Then take one step back with either foot. Step out to the side with the next foot, and then directly out to the side with the first foot. Think back, out, out. There’s no need to walk several feet from the rack. The closer you are to the rack, the more energy you conserve for your squat (plus it’ll be easier to re-rack the bar when your set is finished).
To re-rack, walk straight into the rack until both sides of the bar hit the rack. Squat straight down and set the bar on the hooks.
Putting it all together
Barbell squatting uses the same basic
movement patterns as a bodyweight or dumbbell-loaded squat. However, a few
caveats come into play when the spine takes some of the load. Here is a
step-by-step guide to build a
confident squat.
1. Breath technique: Once you create that 360-degree canister breath in your torso, initiate the squat. As you descend, begin to exhale. You want the exhale to last through the rep, so don’t force it all out at once. As you move, the exhale will contract the torso muscles, creating a corset that protects the spine. Repeat this process for each rep, resetting the breath at the top of every squat.
2. The first break: The squat initiates through the knees, not the hips. Think about breaking at the knees by forcing them outward as they bend. Focus on sitting between the knees, not back in the hips (unless you are doing a high-bar squat).
As the knees start to bend, your hips will naturally hinge to follow suit. When you push back up, drive through the knees and the hips at the same time, locking out the quads and glutes in the top position.
3. Depth check: Every squat will look different, so don’t expect your squat to be a textbook depth. Make your squat your own by squatting as deep as your body allows. Hip mechanics, ankle mobility, strength, flexibility and mobility, and stability throughout the torso and hips play a considerable role in squat depth. If you want to work on depth because you can’t squat to parallel (where the hips sit just below the knees), then try squatting to a box.
4. Power play: Control and tension are everything when it comes to building solid squat strength. Keep tension on the body throughout the movement and don’t let gravity take over.
Lower the weight at a controlled pace and avoid hanging out in the bottom for too long as this will cause the body to lose tension. It’s best to hit a comfortable depth and shoot straight back up as quickly as you can.
Conclusion
Squats are an important compound movement that help build whole body strength. You can get even stronger in your squat by advancing to a rack with these tips and guidelines.